Build A Light Show's new quick splice connectors (yet to be formerly named), are an easy and fast way to splice pixel wires together. This can be for replacing pixels, making a temporary extension or a number of other things!
Whilst we are not massive fans of Insulation Displacement Connectors, these are about as good as they get - most IDC connectors only seperate the insulation in one place, and provide minimal electrical contact and therefore conductivity. These connectors have 2 - therefore doubling the contact area of things like jellyconnectors. We have tested these under current load, and the resistance is minimal, and we are happy they will carry 5amps with ease. That said, if you have the option to solder and heatshrink your connections, that is always preferable, and a better connection.
So, how do you use these? The temptation to stick the cables in and squeeze is high, but read on, then try it!!!
Step 1.
Once you have isolated your prop/string of pixels from the controller/power source, seperate the 3 cores about 10-15mm down the cable: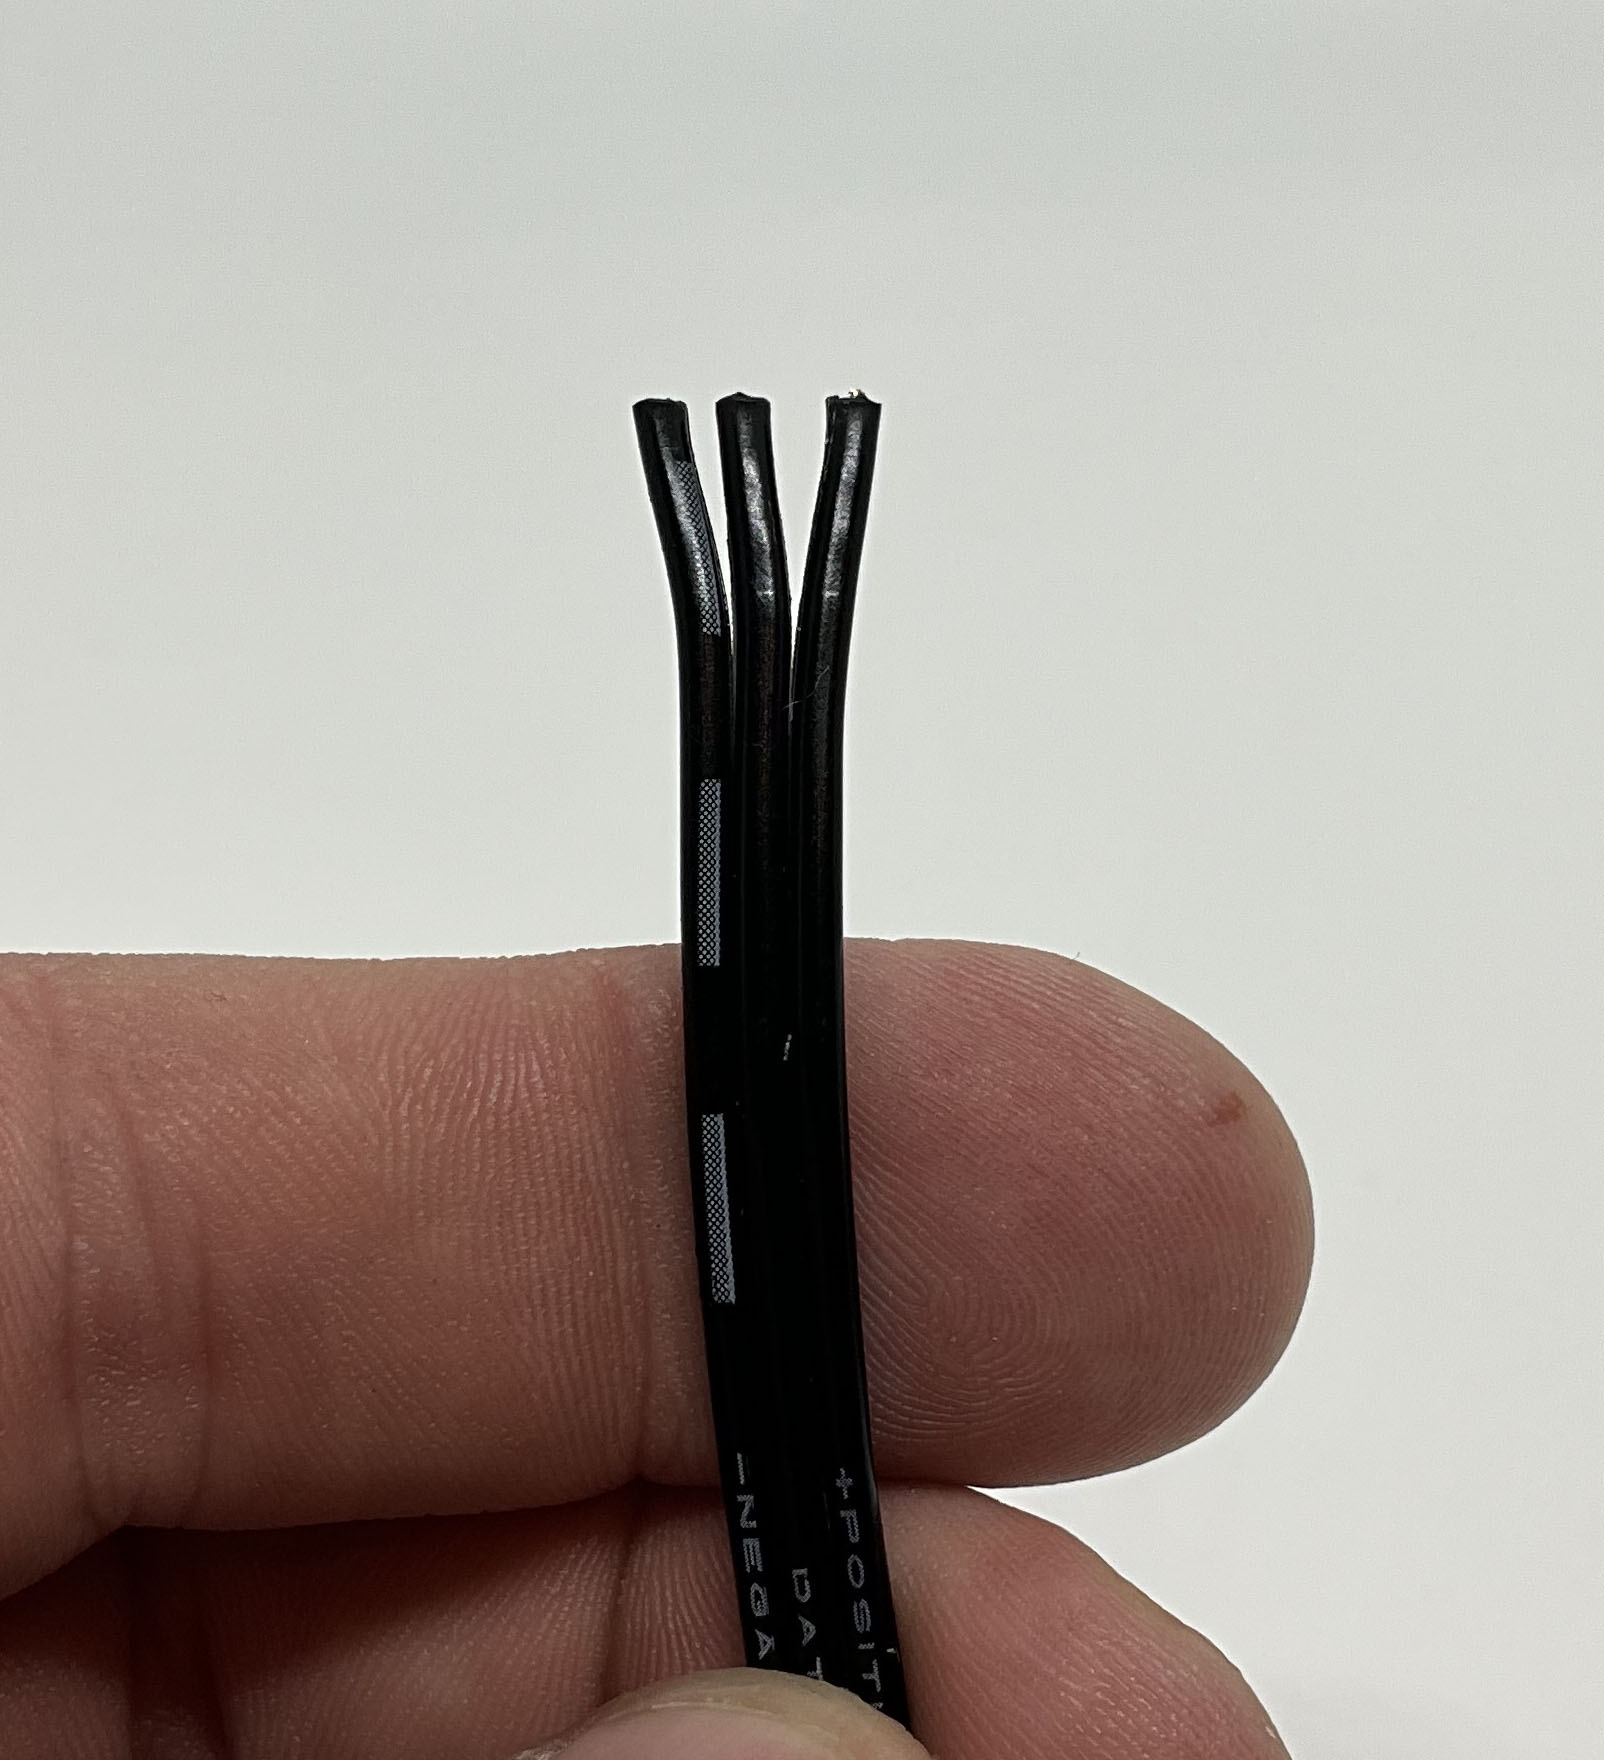
Step 2.
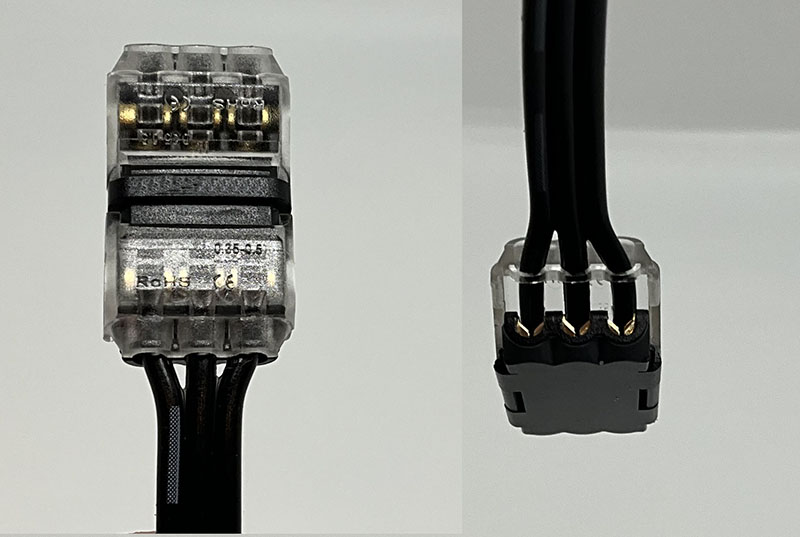
In the clear lever bar, there are 3 holes - these are guides to space the cables over the displacement connector when the lever is closed. The first time you do this, it can appear fiddly - but a little practice makes doing this bit easy. You want to push a good 10-12mm of the cable through into the holes - see the pic below
If you are at all worried about water ingress/interference, you may be right to be. They are deemed by the manufacturer to be "Weather resistant" - but that is not and does not mean IP rated. We would suggest, if you have some, a smear of dielectric grease in the connections before you close the connector in step 3. If you do not have dielectric grease, vaseline or petroleum jelly will do, but it can (over a long period) cause plastics to degrade. If these are being used as a temp/quick fix, vaseline would be fine.
Step 3.
SQUISH!!!! Unless you have super human powers, or are using thinner cable than the cable on our pixels, you will have difficulty closing these by hand. A gentle squeeze with some pliers makes this very easy. Squeeze till the little locking tabs engage on the sides of the connector. 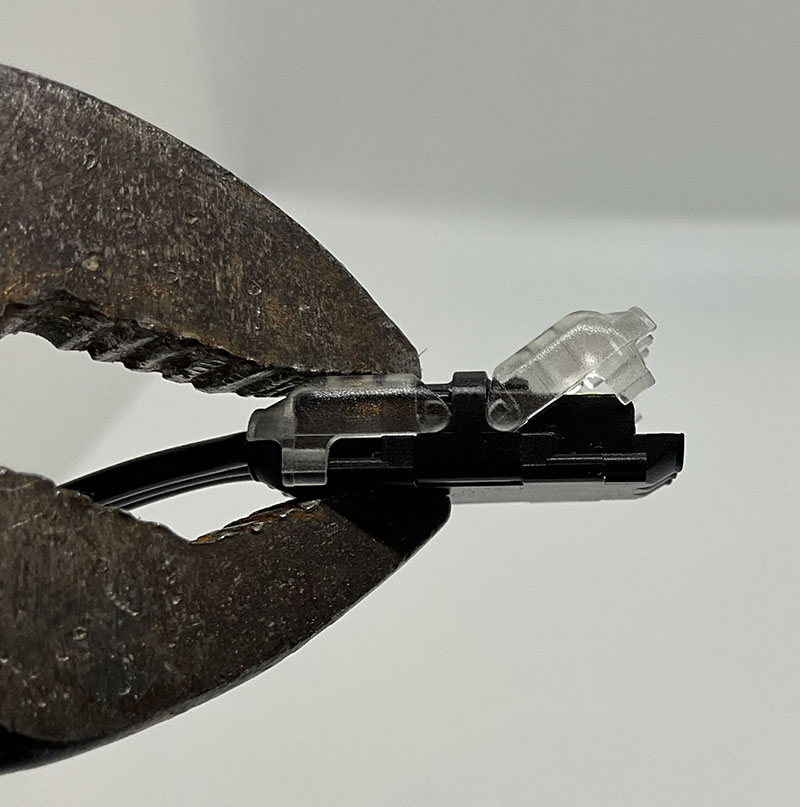
Step 4.
Done. Now all you have to do is do the other side - make sure you line up the conductors, and do not cross your pos and neg wires! That could be problematic! 
Very soon, we will have a nice video at the bottom of this page to show this being done in real time. With a little practice (less than 10 uses), we have managed to splice a new pixel in, in under 1 minute!!